Make a trifold brochure in Word: three panels, two sides and folds in the right place
Set Layout › Orientation › Landscape and Margins › Narrow. Then open Layout › Columns › More Columns and choose 3 columns with spacing equal to twice the margin (1 inch) so each fold lands in the middle of the gap. Place content with Layout › Breaks › Column. Page 1 is the outside (front cover on the right, back cover in the middle) and page 2 is the inside.
It happens the first time you make a trifold: you design it carefully, print it, fold it… and the cover ends up inside, the back panel is upside down and a fold slices a photo in half. It isn't a lack of design talent: nobody ever explained how the panels are ordered.
A trifold is a landscape sheet split into three panels, printed on both sides and folded twice. In Word that means three columns and two pages: page 1 is the outside and page 2 is the inside. Think of a closet with double doors: what you see with the doors shut isn't the first thing you read when you open them.
In this guide you set up the page so the folds land exactly in the gaps, put each block of text in its panel and print two-sided without the second side coming out upside down.
What you'll learn
- Set up landscape Letter, narrow margins and three columns with the exact spacing
- Know which panel is the front cover, the back cover and the inside flap
- Control what goes in each panel with column breaks
- Print two-sided, flipping on the short edge, and check it with a test print
Step by step
Set the sheet to landscape Letter with narrow margins
Open a blank document and go to Layout › Page Setup (in Word 2013: Page Layout). Choose Orientation › Landscape, make sure Size is Letter (8.5 × 11 in) and under Margins choose Narrow (0.5 in on every side).
Each panel is about 3.67 in wide (11 ÷ 3). With normal margins you'd have very little room to write. Don't go below roughly 0.25 in either: many office printers can't print to the edge. If what you need is a single landscape page inside a portrait document, that's a different job: see cover page and landscape page.

Create three columns with spacing twice the margin
Layout › Columns › Three works, but its default gap doesn't match the folds. Instead choose Columns › More Columns…: under Presets click Three, leave Equal column width checked and type 1" in Spacing. Word works out the Width for you (2.67"). Set Apply to to Whole document.
The rule is simple: spacing = twice the margin. That gives every panel the same white space on each side, and each fold lands right in the middle of the gap, 3.67 and 7.33 in from the left edge. Using A4 paper? The same rule applies.
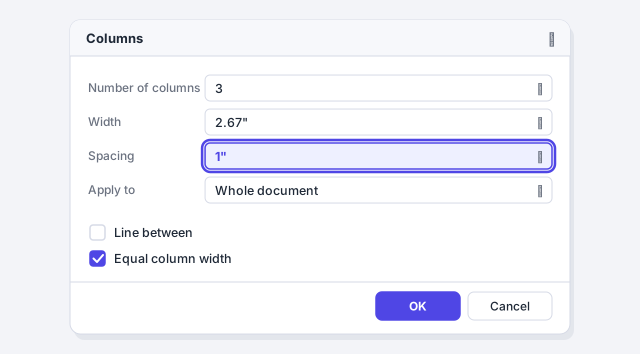
Check Line between while you design: Word draws it in the middle of the gap, which is exactly where the fold goes. Uncheck it before printing.
Learn which panel is which before you type
This is the step that prevents disaster. Once folded, the panels aren't in the order you see on screen:
| Page | Left | Middle | Right |
|---|---|---|---|
| 1 (outside) | Inside flap | Back cover | Front cover |
| 2 (inside) | Inside 1 | Inside 2 | Inside 3 |
The front cover is the right panel of page 1 and the back cover (contact details, map, social media) is the middle one. The inside flap is the first thing people read when they open the cover: a good spot for an offer or a summary. Page 2 reads left to right with the brochure fully open.

Place your content with column breaks
Turn on formatting marks (Ctrl+Shift+8). Type “Flap” and go to Layout › Breaks › Column (shortcut: Ctrl+Shift+Enter): the cursor jumps to the next panel. Type “Back cover”, another break, “Front cover”, another break, and you're on page 2. Repeat for “Inside 1”, “Inside 2” and “Inside 3”.
With that skeleton in place, replace each label with its content. The column break pins where each panel starts, so the flap text never pushes the front cover… as long as it fits.
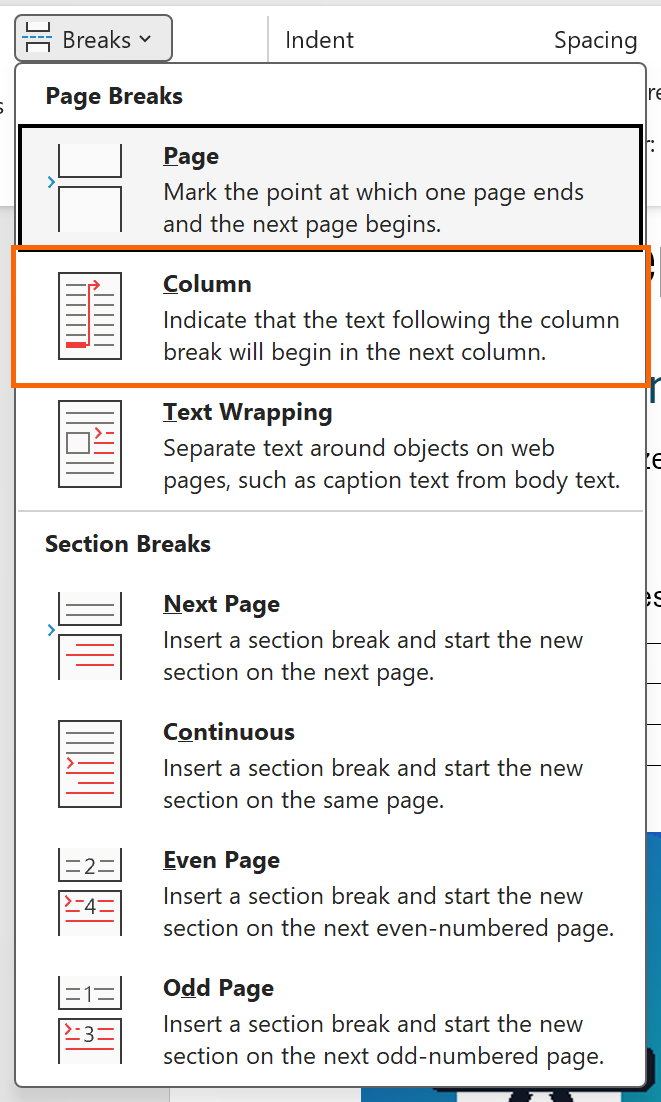
If a panel holds more text than fits, the overflow moves to the next panel and shifts everything. Trim the text or shrink the picture; don't delete the breaks.
Place pictures with a text wrap that stays put
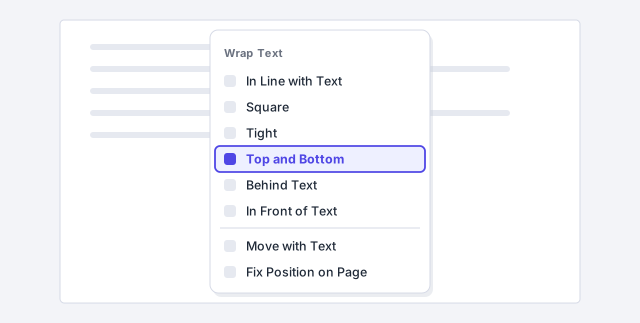
Go to Insert › Illustrations › Pictures. Inside a panel, the safest choice is to leave it In Line with Text and size it to the column width: it travels with its paragraph and never crosses a fold. If you want text to flow around it, use Picture Format › Arrange › Wrap Text › Top and Bottom or Square.
For the big front-cover photo you can use Fix Position on Page. Never let a picture straddle a fold unless it's a background designed for it. If your pictures keep wandering, review pictures that stay put.
Check both sides at once with Multiple Pages
Go to View › Zoom › Multiple Pages to see pages 1 and 2 side by side. Check three things: the front cover is on the right panel of page 1, no text or picture crosses a fold, and there's no page 3.
If a third page shows up, something overflowed or there's an empty paragraph after the last break. With formatting marks on, find it and delete it; more tricks in delete a blank page.

Print two-sided, flipping on the short edge
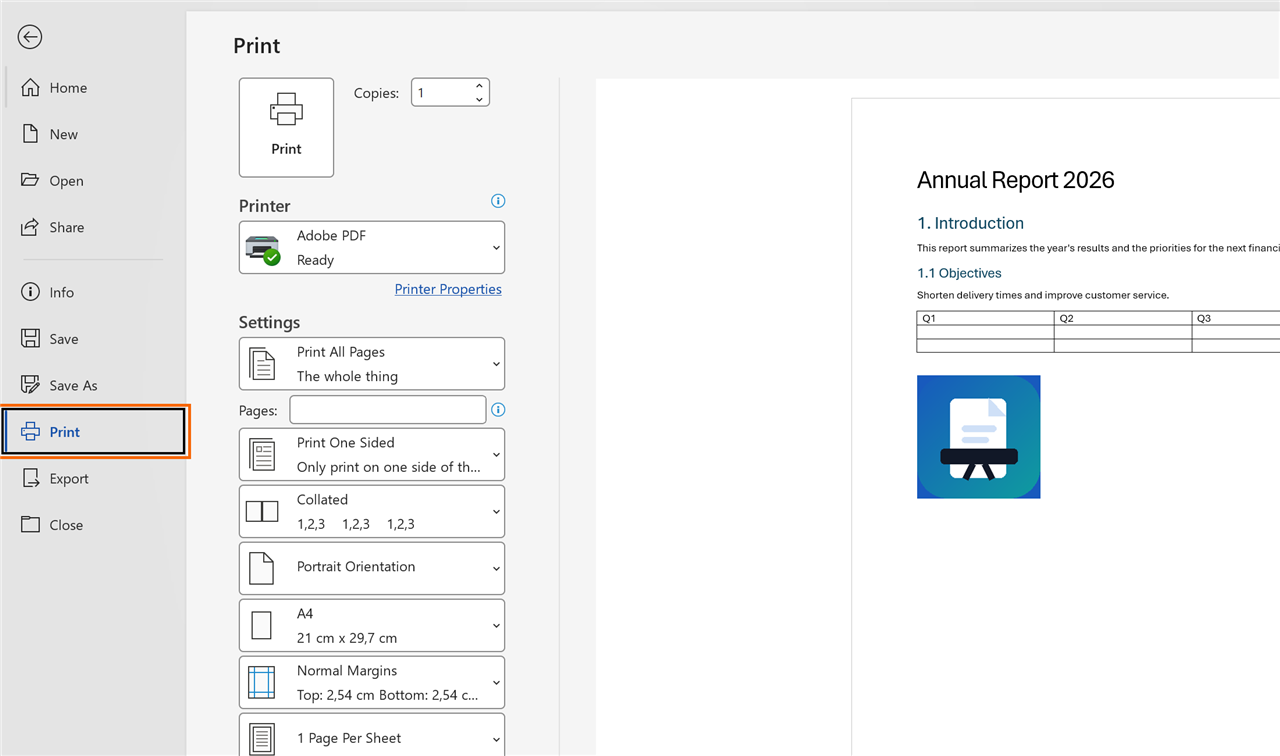
Go to File › Print. In the list that says Print One Sided, choose Print on Both Sides in the version that flips pages on the short edge. With a landscape sheet, flipping on the long edge prints the inside upside down.
If your printer can't print two-sided, choose Manually Print on Both Sides: Word prints page 1 and prompts you to feed the sheet back in.
Do a test print on plain paper and fold it
Print a single copy on plain paper before you use the good stock. With page 1 facing out, fold the flap panel in first, then close the front cover over it. Check that the front cover is on top, the back cover is behind and the folds fall in the white space between columns.
If a fold eats into text, adjust the margins and spacing (keeping the twice-the-margin rule), not the content. If you're sending it to a print shop, give them a PDF and ask what margins and bleed they need.

Expert tips
- Start from a template. In File › New, search for “brochure” and pick a three-panel design. Still check the panel order and the printing: a template saves you design time, not the test print.
- Less text than you think. A panel holds roughly 100–150 words plus a picture. If you ask an AI tool for the copy, give it that limit per panel and bring it in with paste without formatting.
- Use styles and theme colors. Panel titles in Heading 1 and theme colors make all six panels look like one piece. Changing the whole palette takes one click: theme colors and fonts.
- Save it as a template. If you make trifolds often, save the skeleton with its columns and breaks as a Word Template (*.dotx).
Common mistakes and how to fix them
Once folded, the front cover ends up in the middle or inside.
The front cover goes on the right panel of page 1 and the back cover in the middle one. Rearrange with the column breaks following the table in step 3.
The inside prints upside down.
You flipped on the long edge. With a landscape sheet, print on both sides and flip pages on the short edge.
One panel's text spills into the next and throws everything off.
That panel is overflowing. Trim the text or shrink the font or picture slightly. Don't remove the column break.
The folds cut through letters or photos.
The column spacing isn't twice the margin. Open Layout › Columns › More Columns and fix the spacing.
In Word for Mac the path is the same: Layout › Orientation, Margins and Columns › More Columns; the column break is under Layout › Breaks › Column. Templates are in File › New from Template. When printing, turn on two-sided printing with short-edge binding in the macOS print dialog (the options depend on your printer).
Frequently asked questions
Should I use columns or text boxes?
Columns are simpler and the text flows on its own; text boxes give you total freedom of position, but each one is adjusted by hand. For a business or class brochure, columns are enough.
What if I use legal-size paper?
Choose that size under Layout › Size. The rule still holds: column spacing equal to twice the margin.
How is this different from a booklet?
A trifold is a single sheet with two folds. A booklet is several sheets folded in half and stapled, and it uses a different method: print a booklet.
How do I send it to a print shop?
Save it as a PDF from File › Save As, with fonts embedded. We explain how in save a professional PDF.
Saved only in this browser.